


 Den of Angels
I’m notorious for giving lots of helpful tips out, but never posting them here to my website! Will be working on that, and to start it off, going to share some tips on wig making. I still plan on doing a more in-depth, fuller tutorial on the process from start to finish at a later time.
A note on material: I’m a strong believer in using what you have available, so don’t be afraid to experiment! While I find these particular materials to be best for me, it doesn’t have to be the best at all! If it comes down to it, white Elmer’s glue and even paper towel can be used. Promise! I’ve actually used it for some yarn acrylic wigs I made in the past.
Head Cap Materials:
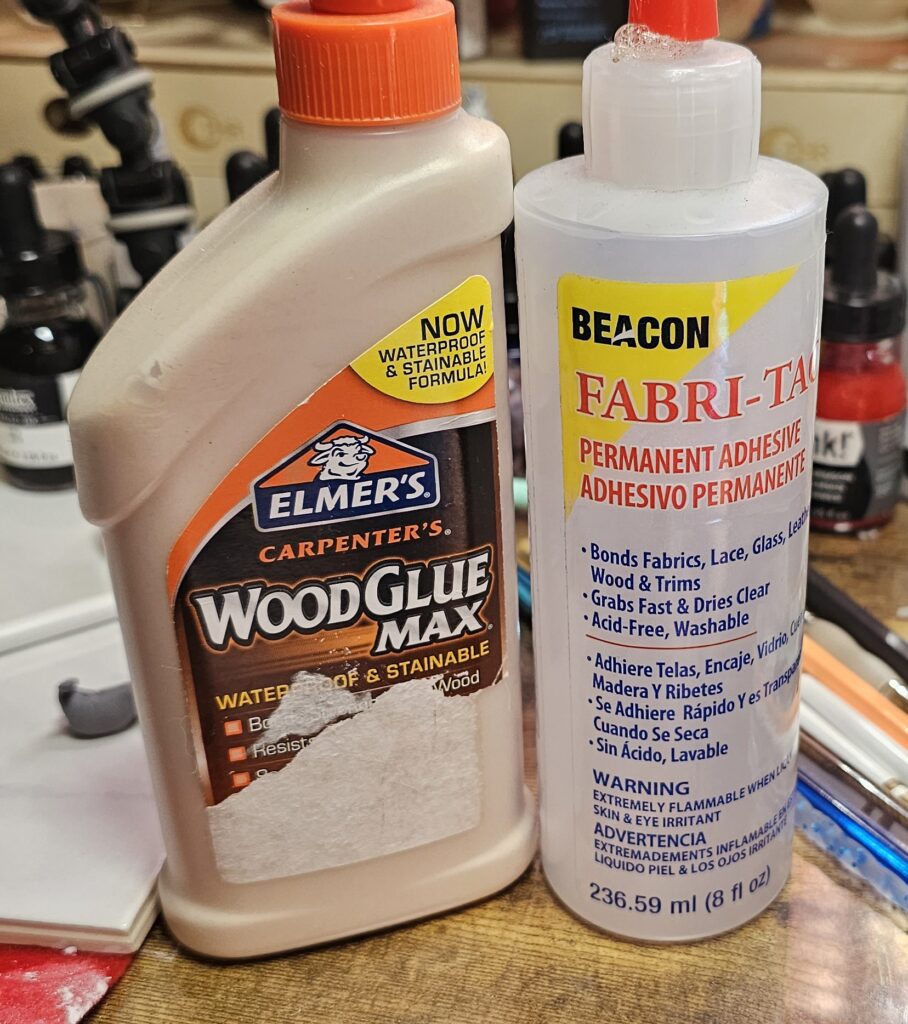
To start with, I use just two types of glue. I do want to experiment with latex at some point, but for now, I’m very comfortable with Elmer’s Wood Glue Max and Beacon Fabri-Tac. Wood glue is specifically for the headcap and Fabri-Tac for the wefts and gluing them on.
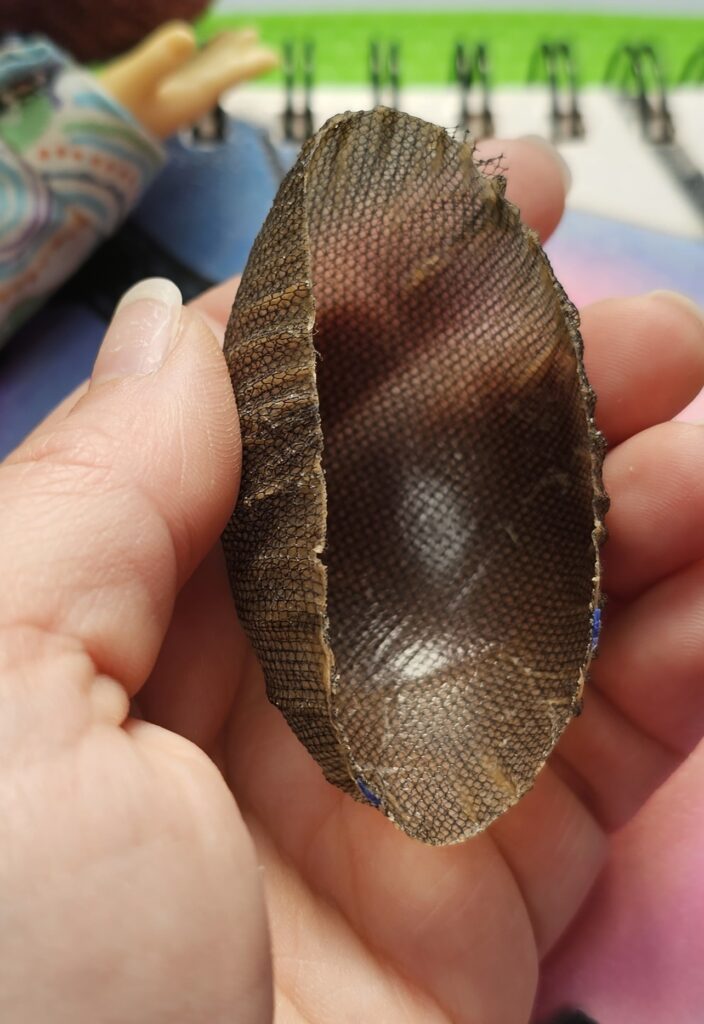
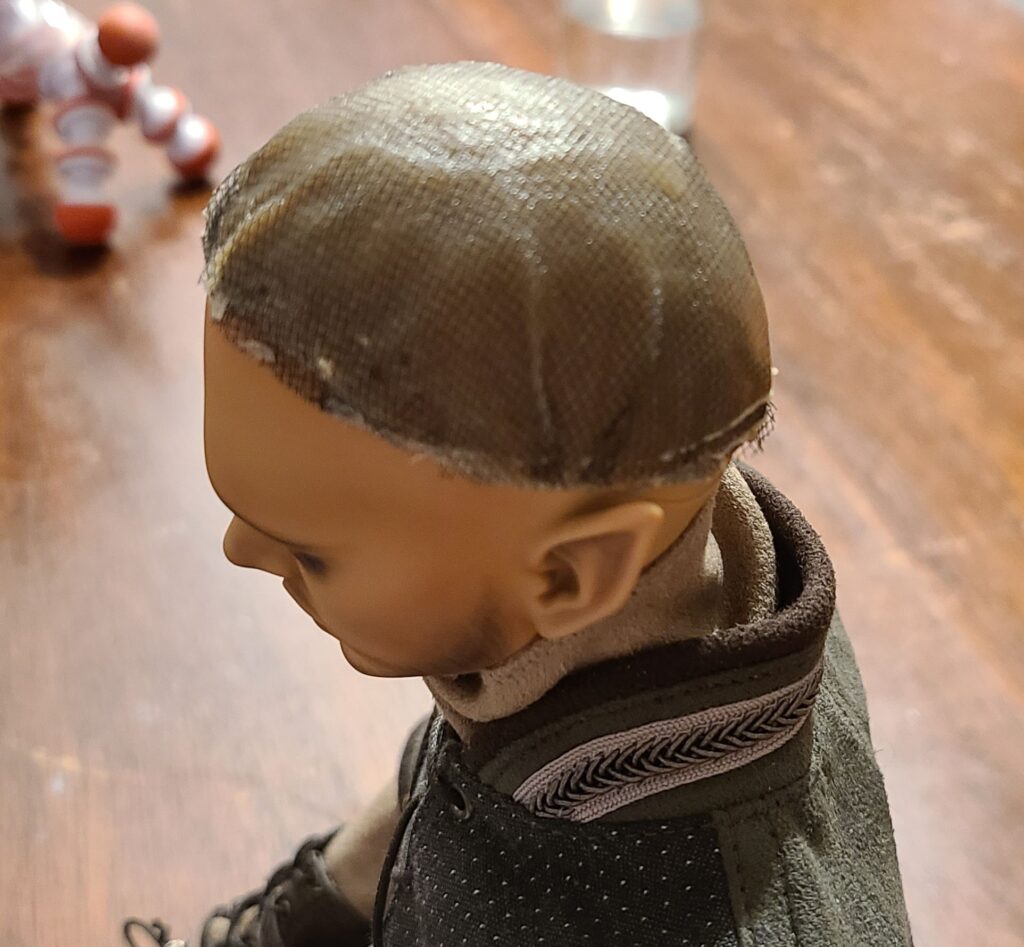
Previously, I used a nude stretchy knit fabric, but more recently I have started just using two layers of tulle. I like how it’s thinner, which is helpful for wigs intended to look closer to the head.
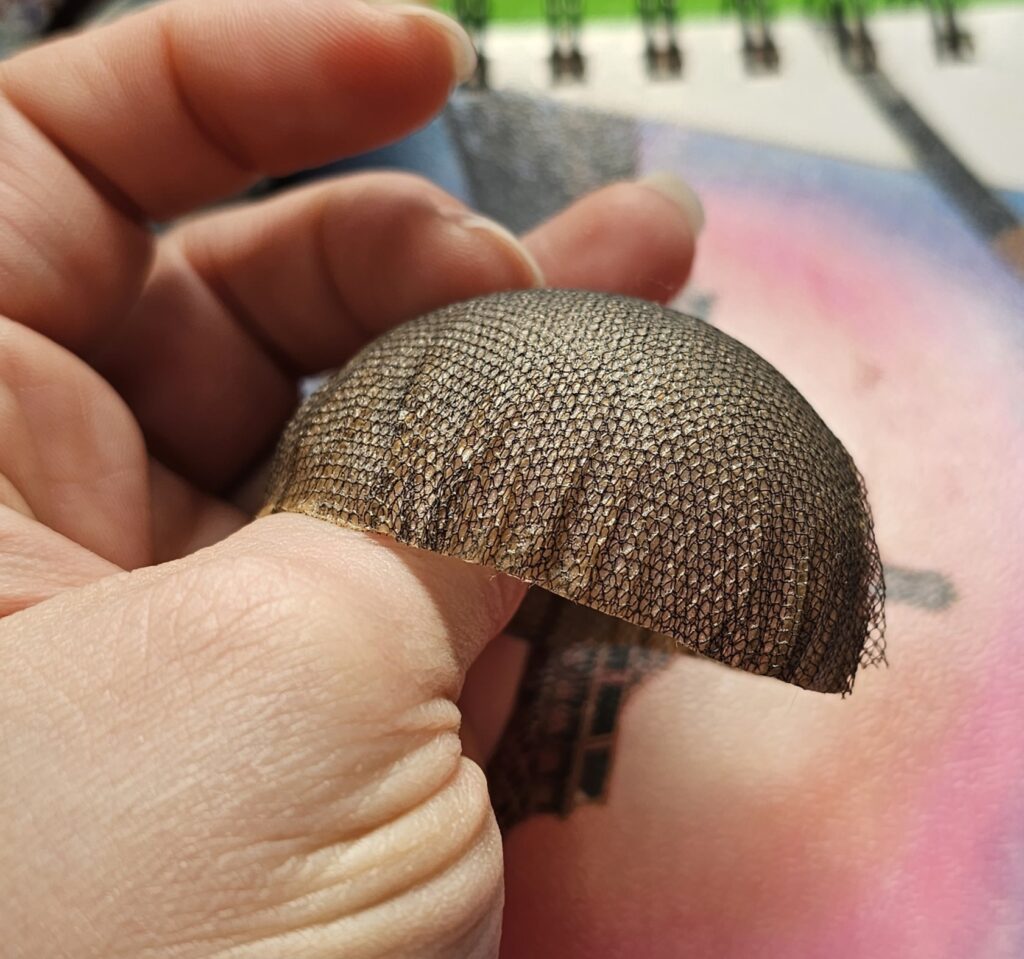
Like this, it’s still pretty flexible, but it holds its shape fairly well.
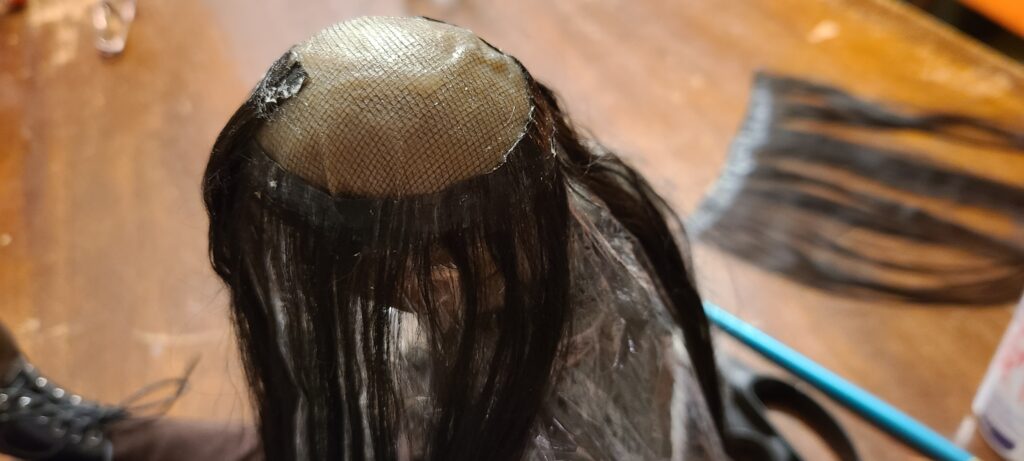
I don’t currently have pictures of creating the headcap, but will when I do a full tutorial. The gist is to stretch it over the top of a BJD head (preferably already wrapped in plastic wrap) and secure just above the ears with a rubber band. While the rubber band is there, gently pull the tulle/fabric downwards to help smooth out the folds that bunch around the rubber band. I recommend doubling the tulle before securing, but that’s up to preference.
Once everything is secured and as smoothed out as you can make it, begin applying the wood glue. I apply 2-3 layers of wood glue, making sure to spread it all over down to the rubber band and waiting for it to dry a bit before starting the next layer. If you want a stiffer cap, do another couple layers.
I use cheap paintbrushes or wooden sticks to apply the wood glue. Really, anything you have on hand you aren’t worried about getting ruined. I’ll use that same object over and over. You’re basically just mushing the glue around the head. There will be some self-leveling that will ultimately smooth it out, so you just want to make sure to do a full coverage and let it sit. Do another layer, let it sit. Rinse and repeat.
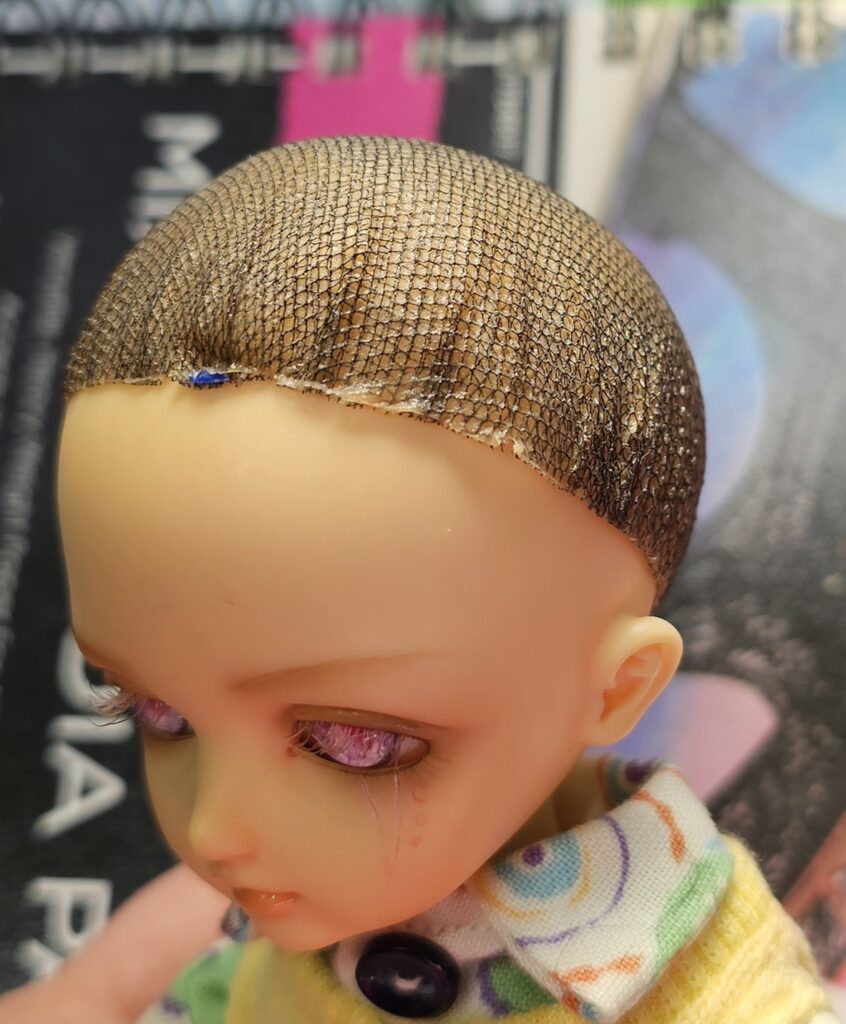
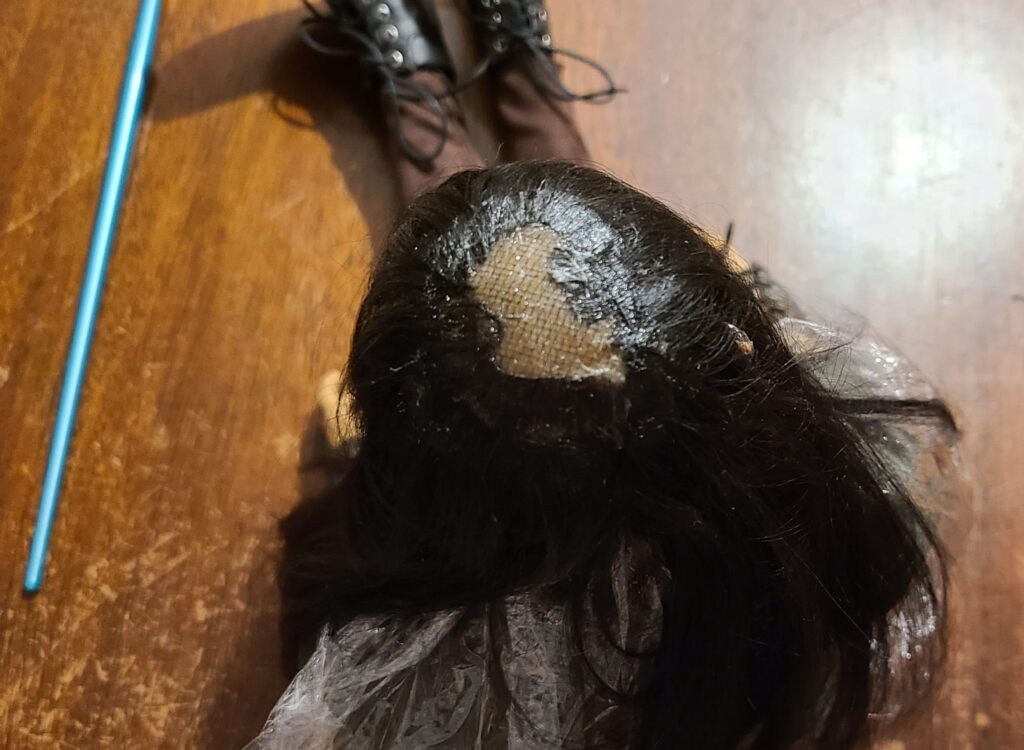
Unfortunately, you really cannot rush this task. I also recommend making the headcaps as far in advance as you can because they really need to fully dry. At least overnight but as close to 24 hours as you can get. Waiting on fibers to arrive? Go ahead and get those headcaps done! It’s easy to overlook, but has a really important reason. When the glue isn’t fully dry and you attempt to remove the rubber band, the folds that have been pulled tight will rebound in the softness. To keep that tight form around the head and to prevent the headcap from “growing”, you really have to wait for it to be fully dried and strong enough.
I rushed this headcap a bit. You can see how the edges aren’t as tight around the head. That’s due to me cutting that rubber band off before it was dried hard!
Wig Weft Tool and Making:
Now, for the wefts! I use a sheet of parchment or wax paper, folded in half and opened to lay the wefts on. I make super thin wefts by applying a line of glue then gently feathering and laying down fibers into the glue.

Take a tool of some sort, preferably silicon based, but even the back of a paintbrush (as in these photos) can be used. Take it and brush the fibers into the glue, making sure to coat them well. You can also take the time to spread them out even more for very thin wefts.
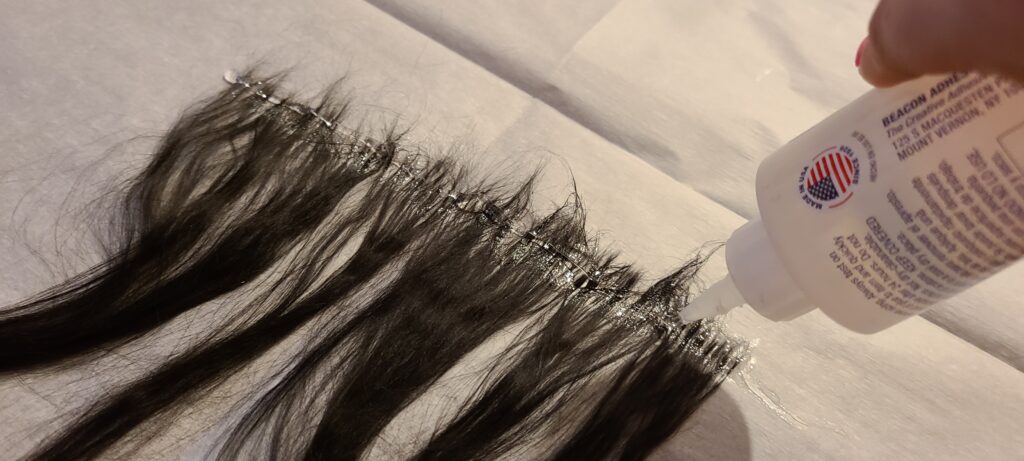
When I’m done and happy with it, I personally like to add another thin line of Fabri-Tac glue on top.
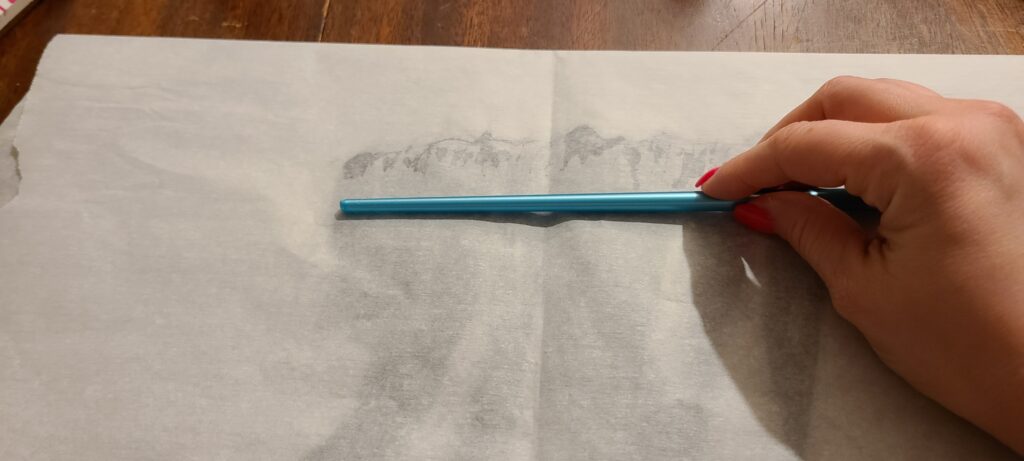
Next, I take the other side of the parchment and lay it back on top of the wefts. With parchment paper you can kinda see it start to look a little wet where the glue is.
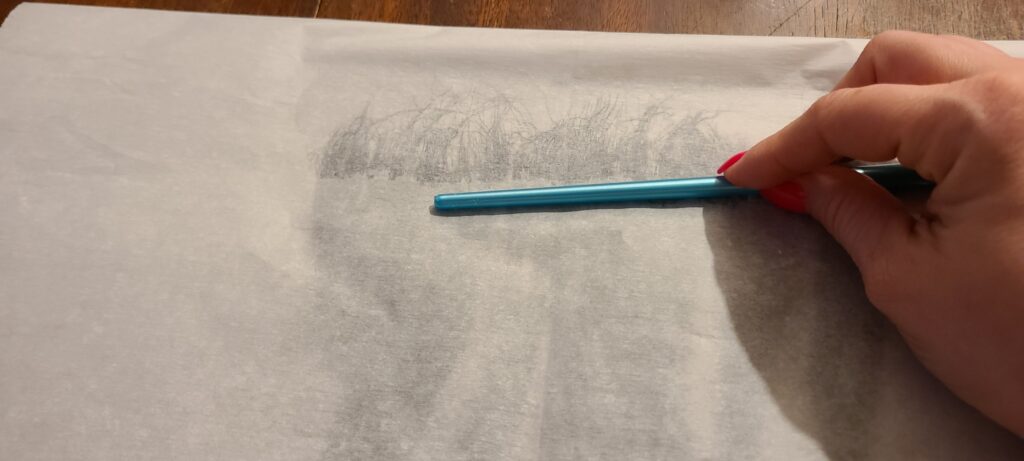
Then, take a sturdy paint brush, stick, or similar object and push down with a scraping motion towards the top end of the wefts. This spreads the glue away from the good ends and the excess off the fibers. Doing this helps to flatten the wefts even further. For good measure, I also like to add a heavy object like a book!
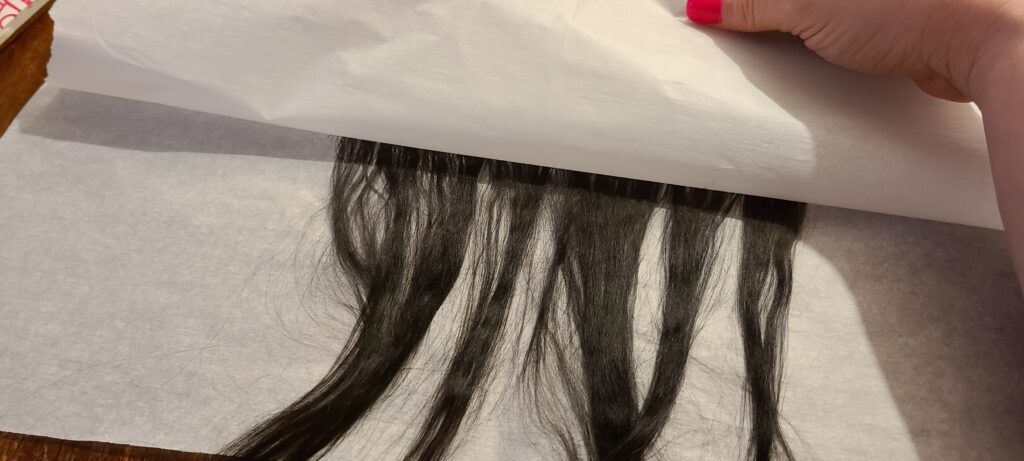
You want to let it sit for a bit and then check it after 10-15 minutes. Just peel the sheet back. It should peel a bit easy, but if it looks gooey, set it back down. But it should be plenty ready to go by that time!
Sometimes when you peel it back the glue is a bit damp. If it is, leave the sheet up and let it air dry some more.

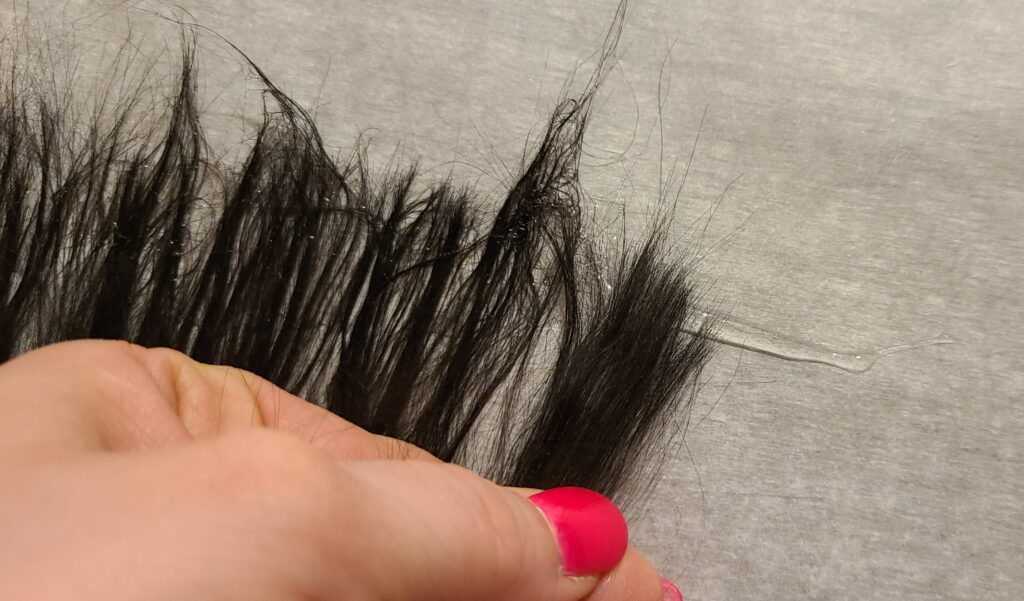
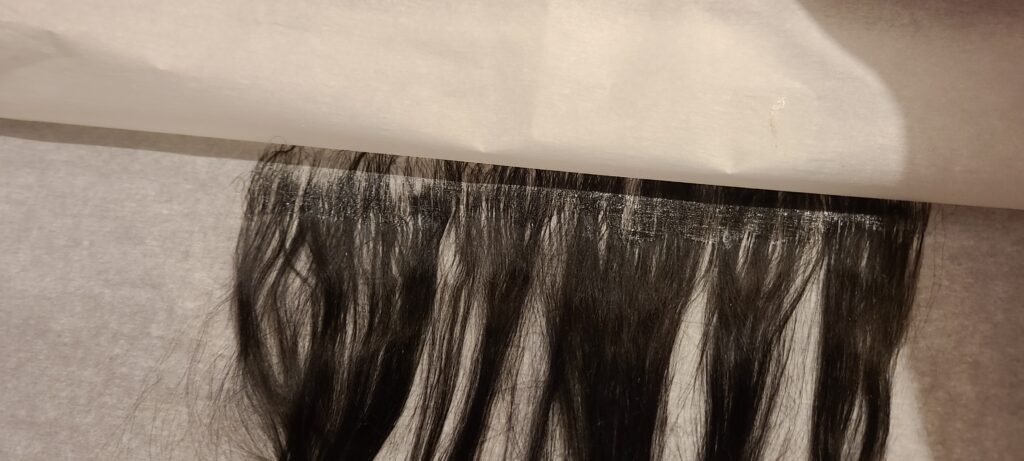
Once it’s firm, but still pliable, go ahead and begin to peel it up.
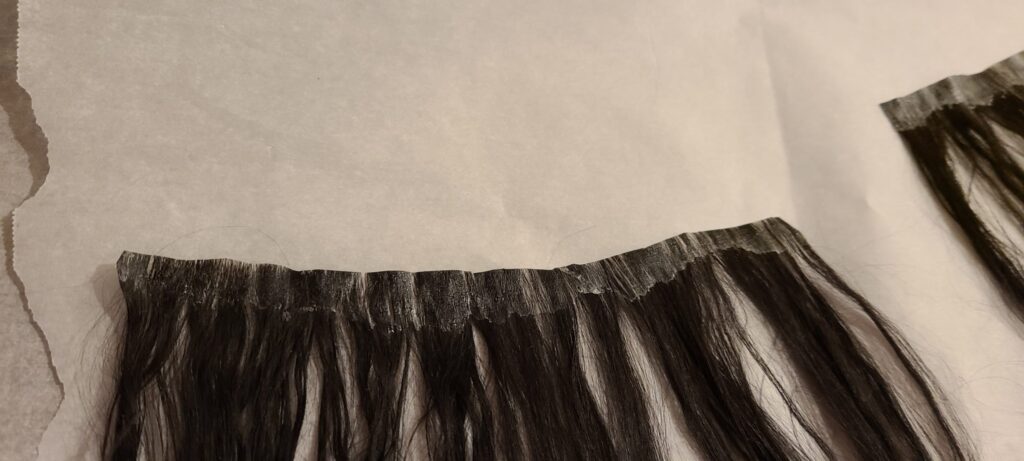
At this stage I trim the wefts by cutting the irregular loose hairs off the top, excess glue at the sides, etc. Then I may go back and cut more of the glued edge off the wefts or cut them apart into smaller pieces for easier placement.
Final Applications:
I prefer to make the wefts right before using them so they are still pliable as I’m placing them on the headcaps. This way they lay smoother and hug the curves better. After they are fully dried, usually around 24 hours, Fabri-Tac gets pretty hard. At that point, you would need to cut very narrow wefts so they can be placed smoother around the head.
From there, just work your way around the headcap laying a thin line of Fabri-Tac to the wefts and then placing them. I like to use a paintbrush handle here, as well, to help press it into the headcap and smooth it. Cut the wefts shorter as needed until you make it to the top!
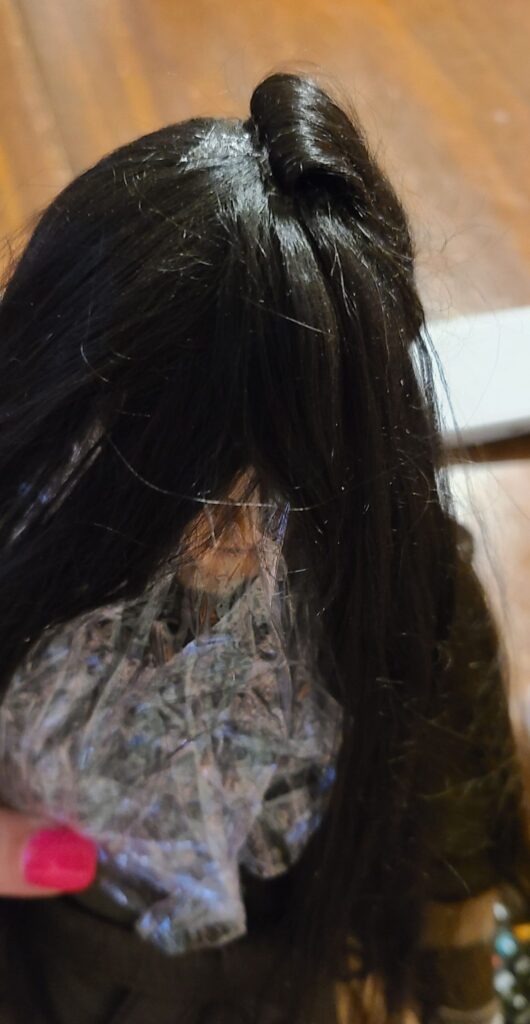
And then you have the fun job of making the part!
But that, my dears, is for another day~

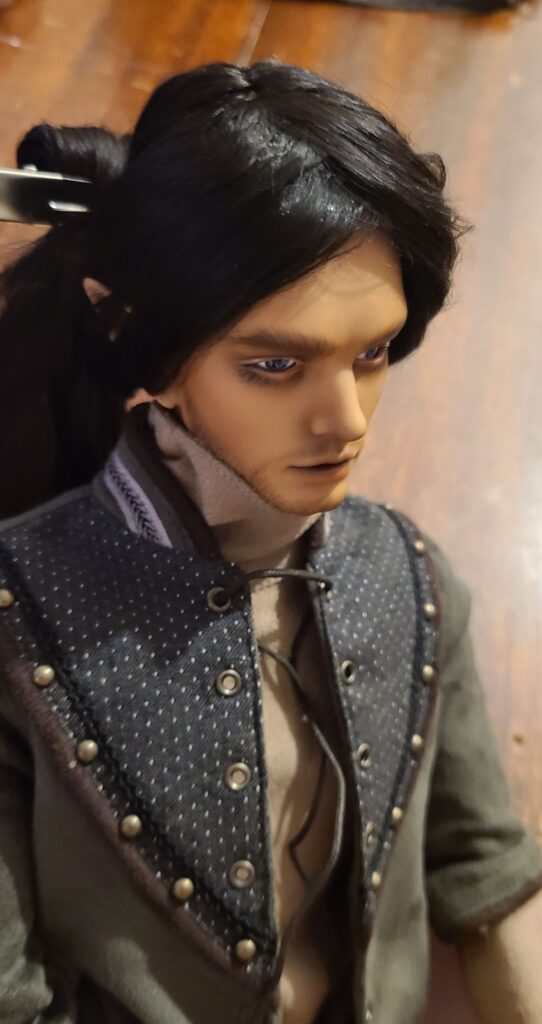
![[Arrival] DS Bernard - 06](http://eof.cloverpetals.com/wp-content/gallery/arrival-thayne/Arrival-DS-Bernard-06.jpg "[Arrival] DS Bernard - 06")


Post a Comment